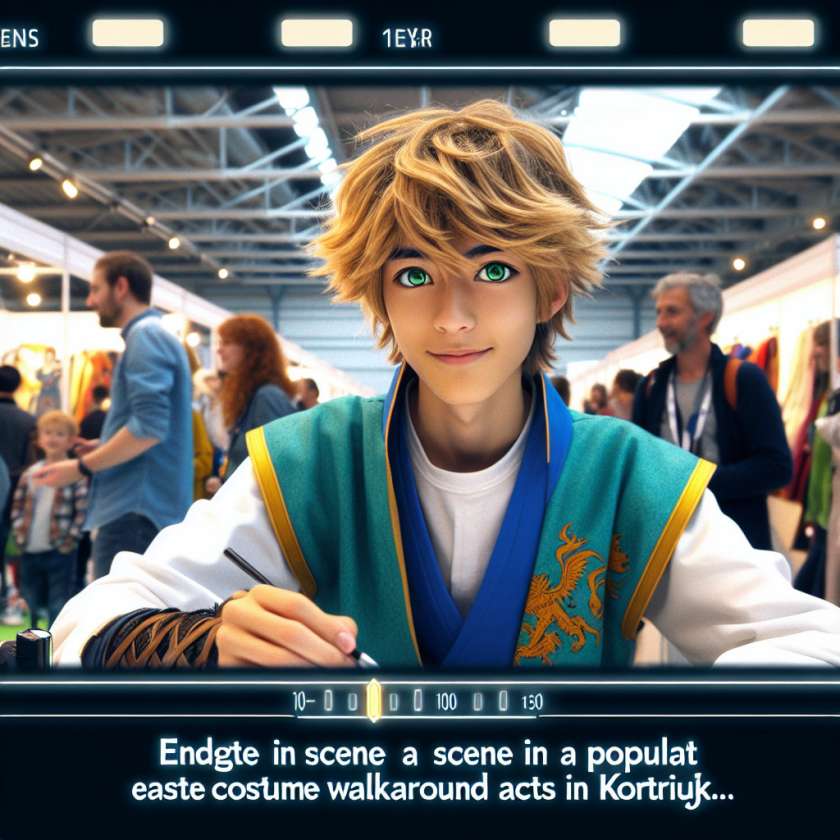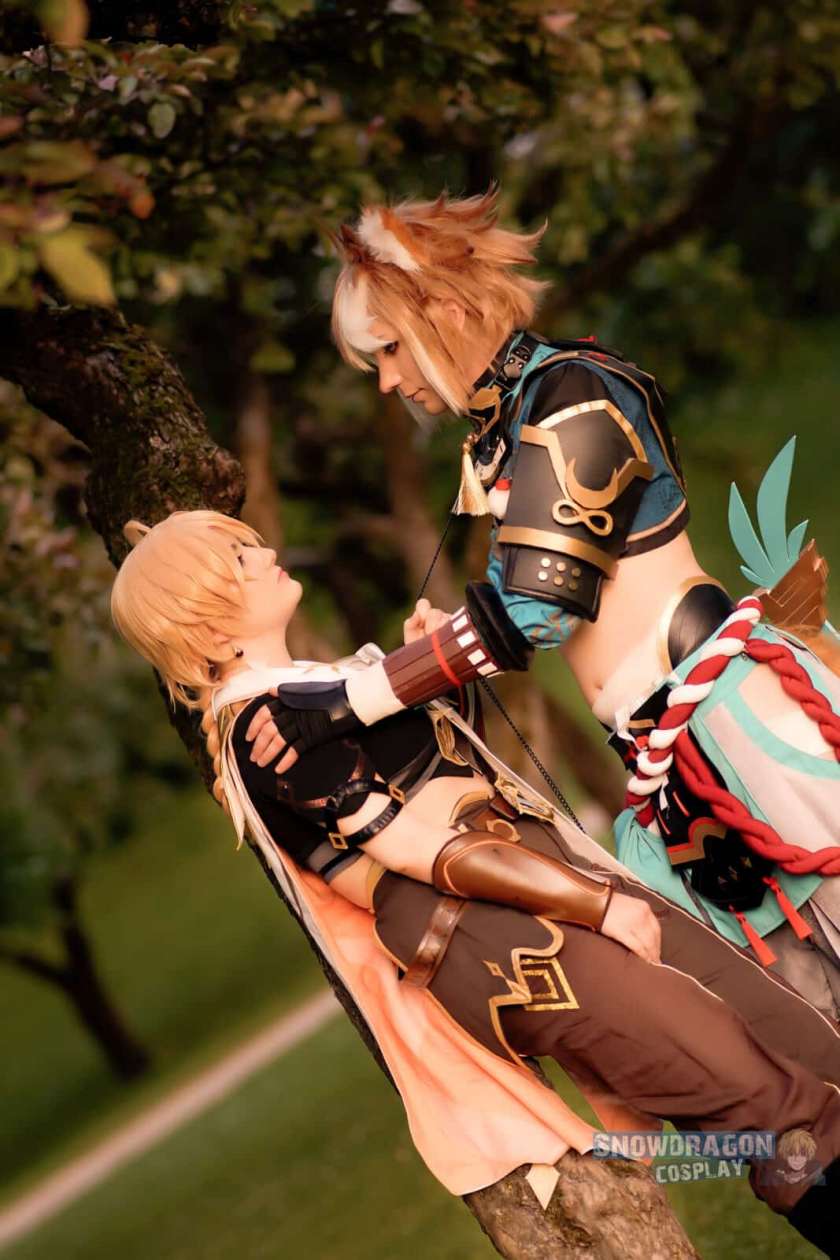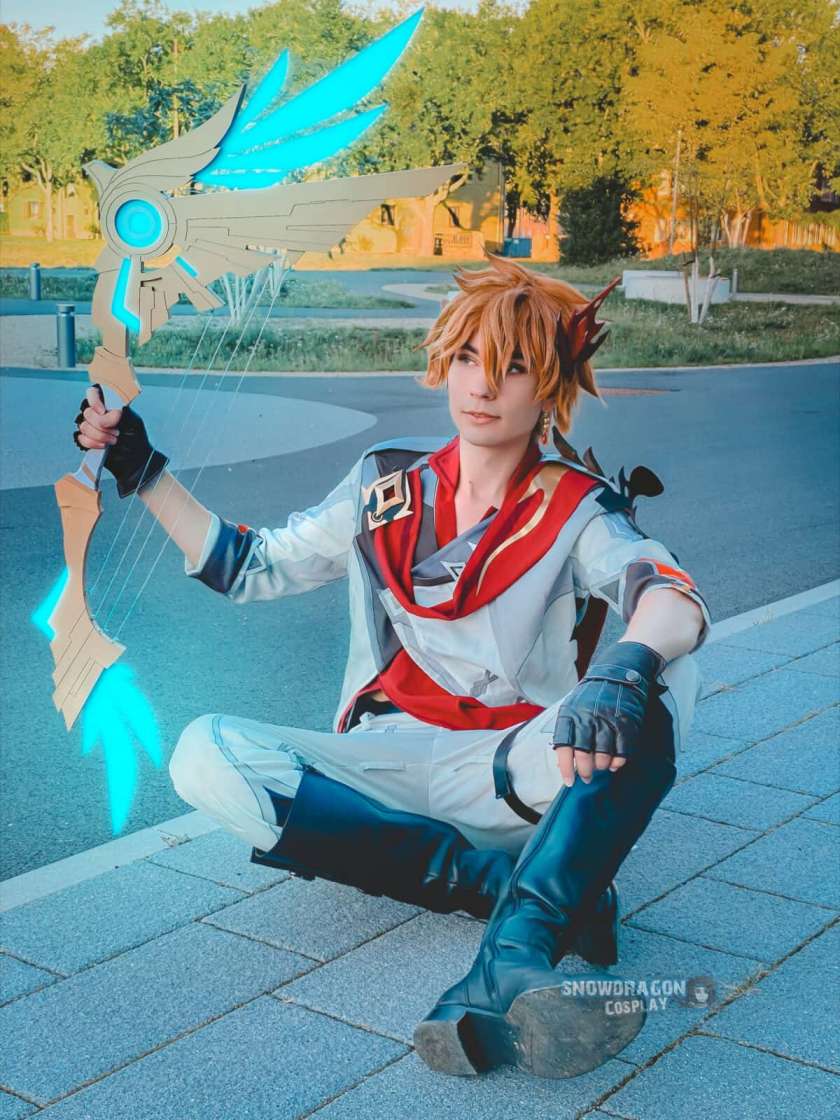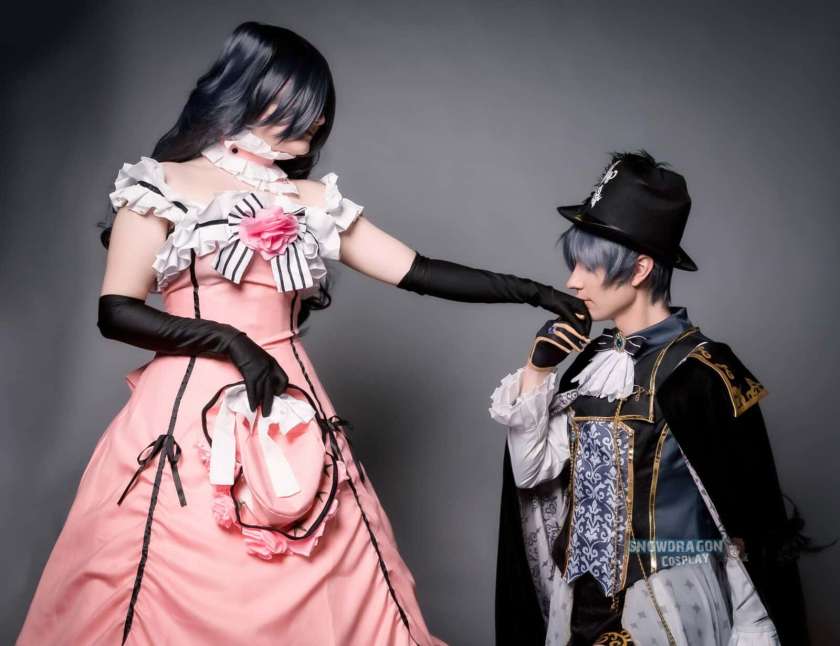
The elf boy type of cosplay is quickly gaining popularity due to its unique and captivating look. With roots in traditional elven costumes, elf boy Cosplay is a perfect choice for anyone looking to add a touch of fantasy to their cosplay repertoire.
How to Make Elf Boy Cosplay
Here’s how to make an elf boy costume that will make all the other elves green with envy. You’ll need a few simple materials, some creativity and a little bit of elbow grease to pull this one off. So, get started on your elf boy costume today and be the life of the party this holiday season.
The materials you’ll need for this cosplay are as follows:
- Shirt with a collar
- Brown skinny pants, the more of a body fit they are, the better
- A belt to cinch around your waist
- Leather or brown mesh material for the cloak
- Tan boots with laces
- A belt with a pouch and a sheath for your sword
- The neckpiece (you can add this in with the neck of your shirt)
- Having two different color eyes
- Light brown wig or having light brown hair yourself
You may decide to add on more accessories such as elf ears, makeup, or separate pieces to your cosplay, but this is the base of an elf boy costume.
Instructions:
Author
Now that you have all of your materials together let’s get started on making some progress.
Step 1
The first step is cutting off the collar on the shirt, so it looks like he has more of a t-shirt than a long-sleeved shirt on. Next, by using more of the shirt material, cut out a “cape” for him to wear around his shoulders.
This can simply just be draped over his shoulders, pinned on with safety pins, or sewn on. If you decide to sew it on, then also consider adding some sort of decoration to the upper part of the cape by sewing on jewels, beads, or other flashy embellishments.
Step 2
Now that you have the main pieces dealt with for this cosplay, let’s move on to his belt and sheath. The first step is to take a good look at how the belt and sheath go together in order to get an idea of what we’re working with here. This is a front and back image of what you’ll be working with.
Step 3

As you can see, the sheath is in the shape of a trapezoid, so we need to make a simple paper pattern in this shape for us to work from when cutting out the leather or mesh material for this part.
To do this, simply lay a piece of paper out on a flat surface then put the sheath on it. Draw around the piece, then cut out the shape to make your paper pattern for this part of the cosplay.
Step 4
The next step is cutting out this shape from whatever material you’re working with. It’s important to use leather or mesh material because it will be easier to cut out and doesn’t tear as easily.
Once you’re done cutting this shape out, then fold it over the belt part of the cosplay that will go around his waist. Use some hot glue or another type of adhesive to hold this in place on your belt.
Step 5
Now that you have your sheath glued onto the belt, let’s move on to the next part of the belt. To make this, simply lay your belt out flat, then measure how long you want it to be, adding an extra inch or two to compensate for any mistakes that may occur when cutting it out.
Once you have the length measured up, cut off a strip of leather or mesh material that’s equal in length to the belt.
Step 6
Next, you want to create a belt buckle that can hold the two ends of this piece together. To do that, simply take a thin strip of material and fold it in half.
Then sew on some snaps to one side so they’re closed by sliding them onto the opposite end of the folded-over piece of material on your cosplay. Sew some thread onto the other end, then sew that onto your belt.
Step 7
The next step is to place a little hot glue or another type of adhesive on the spot where you want the sheath to go. Place it there and hold it until it dries, so you know for sure that it’s going to stay in place, which isn’t too long.
Once you’re sure it’s secure, go ahead and carry on with the rest of your cosplay by adding on any other accessories or finishing touches that you may want to include.
Step 8
Now that you have made the main pieces for this cosplay, all you need to do is decide whether or not you want to style your wig differently than this or dye your hair a lighter brown color to be more accurate.
How to Make Elf Ears

You can buy pre-made ears, but if you’re feeling crafty, here are some directions on making your own:
Elf ears are a popular cosplay accessory, and there’s no reason that you can’t make them yourself. The materials needed for this project are fairly simple – all you’ll need is fabric, craft foam, hot glue, scissors, baking paper, an oven/toaster oven/skillet (depending on preference), and an oven mitt.
Step 1
First, cut the craft foam in half (length-wise). You might want to make a template out of paper or thin cardboard to help you get exactly what you want before cutting your foam in case it is thicker than expected.
Step 2
Next, trace two semi-circles on the baking paper (you can use parchment paper or heavy-duty aluminum foil). On the foam, trace out semi-circles with a ruler, about an inch away from the edge. This is where you will be attaching your fabric later on.
Step 3
Cut out your semi-circles and place them onto the baking paper. Keep in mind that baking paper tends to burn quickly, so you may want to hold onto it with an oven mitt.
Step 4
Once your oven is pre-heated to 180 degrees Celsius (or around 350 degrees Fahrenheit), place the semi-circles inside for about 5 minutes. You’ll know they’re done when they become firm and flexible.
Step 5
Now that the semi-circles are done, it’s time to attach your fabric. Simply cut out a piece of fabric that’s big enough to cover one semi-circle. If you want more security, you can also sew the edges on, but this isn’t necessary.
Step 6
When attaching it to the semi-circle, fold over the material so that it is completely covered by the foam. If you’re using sewing thread, it may help to poke some holes first with a large needle before slipping the needle under the material.
Step 7
Now that your semi-circles are covered, simply glue them to a headband or hair elastic. This is where the oven mitts come in useful – make sure you’ve got yours on before you pull out the semi-circles! You don’t want any glue attaching to your skin.
And that is it! Now you can use them as a headband or hair accessory. Just be careful not to leave them in the oven for too long – they may start melting and lose their shape.
Remember, if you’re considering making a set of foam elf ears for your next convention, start this project at least two weeks in advance to give the glue time to dry. Happy crafting!

Side Note: You can contact SnowDragon via Instagram to book him for your upcoming cosplay photoshoots or events.
Author
-

Cosplayer, Crafter, blogger. Expert on all things cosplay.

