Horns are one of the most popular items to cosplay as. They can be made from a variety of materials and can be attached in a variety of ways. In this article, we will show you how to make horns cosplay using a few simple techniques that anyone can do. Let’s get started!
How to Make Horns from Materials you Have Around the House
Making horns from everyday materials is a fun and easy way to get the look you want for your cosplay. You can use things like cardboard, papier mâché, or even aluminum foil to create the perfect set of horns for your costume. Here’s how:
[Sassy_Follow_Icons]
What You’ll Need
- Cardboard
- Paper mâché, or aluminum foil
- A pencil
- A pair of scissors
- Tape or glue
Step 1: Draw the profile of a horn on a piece of cardboard with a pencil. It should be about six inches long and curved. Make sure to leave a space at the bottom so that you can cut it out.
Step 2: Cut out the profile into the desired shape for your horns with the scissors.
Step 3: Cover the cardboard in strips of papier mâché, using water and flour as the adhesive.
[publishpress_authors_box layout="ppma_boxes_890427"]
Step 4: Let the papier mâché dry completely.
Step 5: You can paint the horns if you want to, but this isn’t necessary.
Step 6: Let the paint dry completely.
Step 7: Tape or glue a strip of aluminum foil around the edge of each horn, if desired.
Tips for Making Cosplay Horns

If you have trouble getting the cardboard to hold its shape once it is covered in papier mâché, try dipping the paint brush in water before applying the paste. This will keep your horns from becoming too stiff while they dry.
You can make this process really easy by using some basic craft supplies like Styrofoam balls for the base and Styrofoam craft sheets for the finishing touches. All you have to do is put a little bit of glue on your Styrofoam and roll it in aluminum foil until it has the shape that you want.
This will give you a pretty solid horn that can stand up to being played with or stored in luggage while you travel. If you’re making these for a child, try using some small craft foam balls that come pre-covered in aluminum foil. You can then paint them to your desired color and use some papier mâché to give them the appropriate thickness.
Whether you are making horns for cosplay, Halloween, or for fun – these tutorials will help you get the horns you want.
How to Attach Horns to a Headband or Wig
There are a few different ways to attach horns to a headband or wig. The most common way is to use hot glue. You can also use superglue, epoxy, or silicone adhesive.
- If you’re using hot glue, apply a thin layer to the back of the horn and attach it to the headband or wig. Hold it in place for a few seconds until the glue dries.
- If you’re using superglue, apply a small amount to the bottom of the horn and attach it to the headband or wig. Hold it in place for a few seconds until the glue dries.
- If you’re using epoxy, mix the two components together and coat one side of the horn. Allow it to dry for about five minutes, and then attach the coated side to the headband or wig. Hold it in place until the glue dries.
- If you’re using silicone adhesive, put a thin layer on the back of your horn and attach it to the headband or wig. Be sure to hold it in place for a few seconds until the adhesive dries.
- Once your horn is attached, you can paint it if desired or leave it as-is.
How to Paint and Decorate your Horns for a Really Impressive Cosplay Look

To paint and decorate your horns for a really impressive cosplay look, you’ll need to gather the following supplies:
- Acrylic paint in various colors
- Paint brushes
- Mod Podge or other sealants
- Glitter (optional)
- Rhinestones (optional)
- Gloss Varnish (optional)
Step 1: Once you have all of your supplies gathered, begin by painting your horns in the color of your choice. You can either paint them one solid color or do a more detailed design. Allow the paint to dry completely.
Step 2: Next, apply a coat of Mod Podge or other sealants to seal in the paint and protect it from wear and tear. Once the sealant has dried, you can add any desired glitter or rhinestones.
Step 3: If you want your horns to be more reflective, varnish them with gloss varnish. This will shine in the light and give your horns an extra sparkle.
That’s all there is to it! Your horns should be as good as new once dry. For long-term use, you will want to repeat this process every so often as the paint and sealant wear off after a while. Good luck on your next cosplay adventure!
Tips for Wearing Horns Comfortably All Day Long
Here are some tips for wearing horns comfortably all day long:
- Make sure the horns are the right size for your head.
- Use a horn band to keep the horns in place.
- Make sure the horns are lightweight and not too heavy.
- Apply pressure to the tips of the horns to stop them from slipping forward.
- Use double-sided tape before attaching horns to your hair.
- Use the correct adhesive for applying horns to your skin and hair.
- Wear a wig cap under the horn band or glue to keep your hair in place and stop it from showing through between the horns and around their bases.
In Conclusion
Well, there you do – a complete guide on how to make horns cosplay.
Making horns for cosplay can seem like a challenging task, but it’s a relatively easy process that just takes some time and patience. In this article, we’ve outlined the steps you’ll need to take in order to make your own pair of horns, as well as some tips on how to customize them for your specific cosplay. So, what are you waiting for? Start making those horns today!
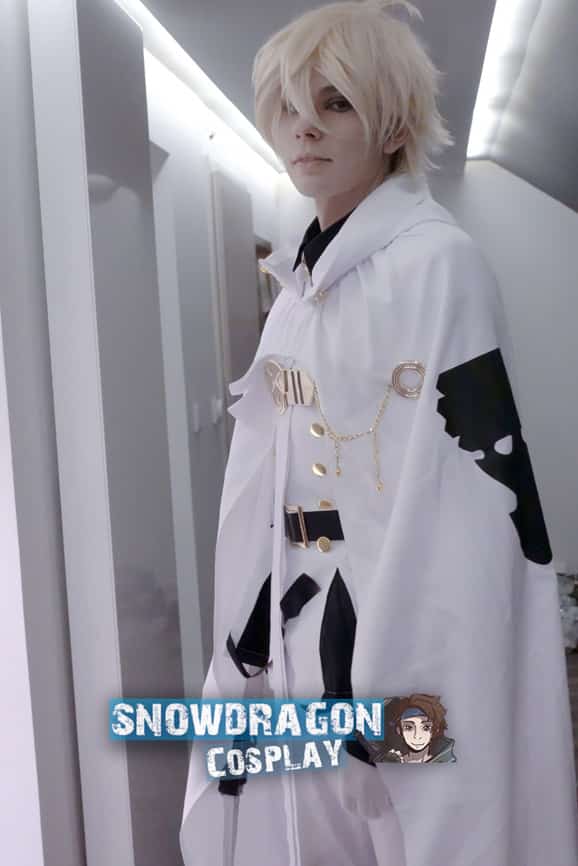
Note: You can book SnowDragon for your upcoming cosplay shootings by contacting him through Instagram.

